Wednesday, December 30, 2015

Mini Tables - Monitor Stands


The Idea:

I wanted to make something for my family that would keep them guessing up until they had to assemble it.  Conveniently they all needed some type of monitor stand or TV stand.  They usually come out to the shop and snoop around so I wanted to make something that would not be immediately distinguishable.
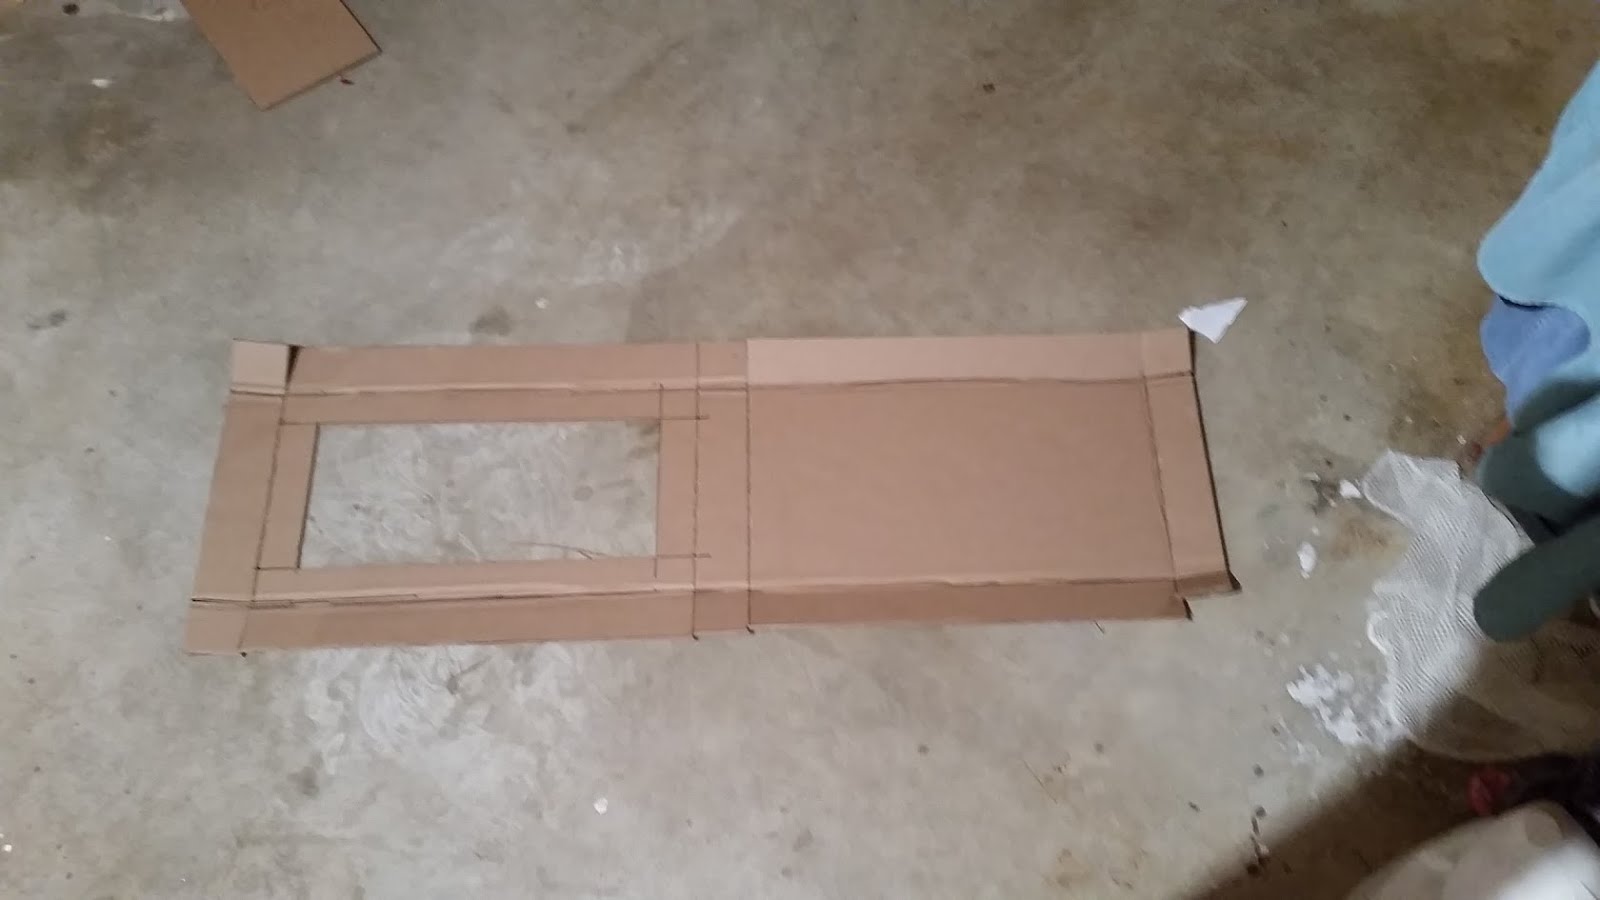
The Prototype:

Plywood box with mitered corners with a 1 inch gap in the middle.  Cut the"bottom" off and then made the legs out of scrap.


The Build:

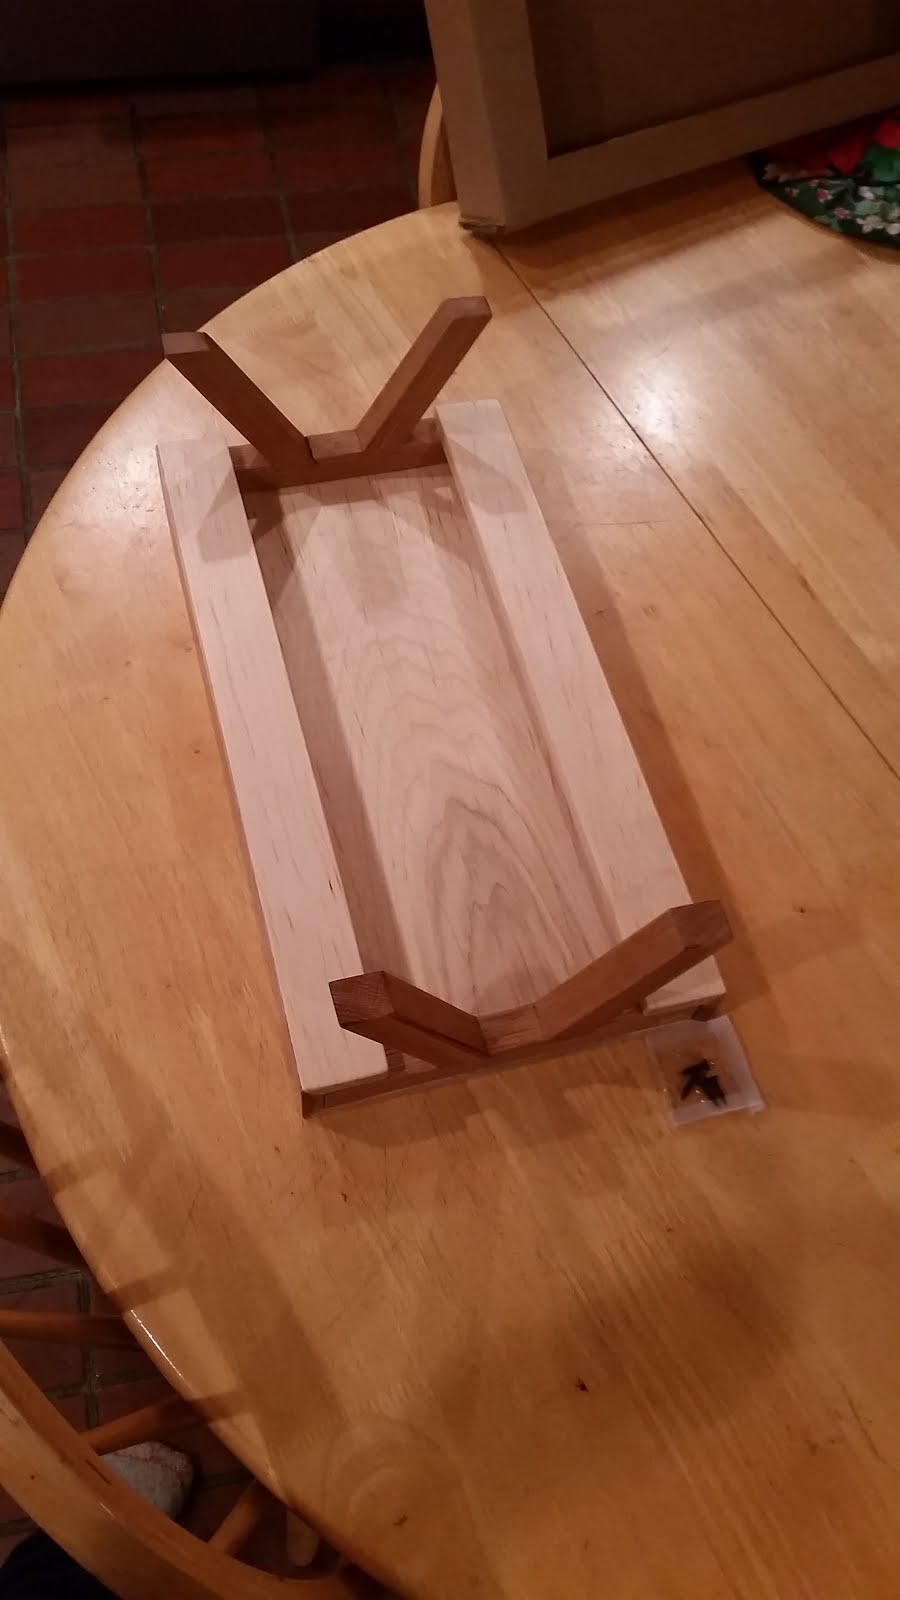
Now to make a prettier version made out of 1/2" maple and 1" oak.


(I do my glue-ups in the basement in the winter)


Put a screw in for re-enforcement, didn't want any monitors crashing down.


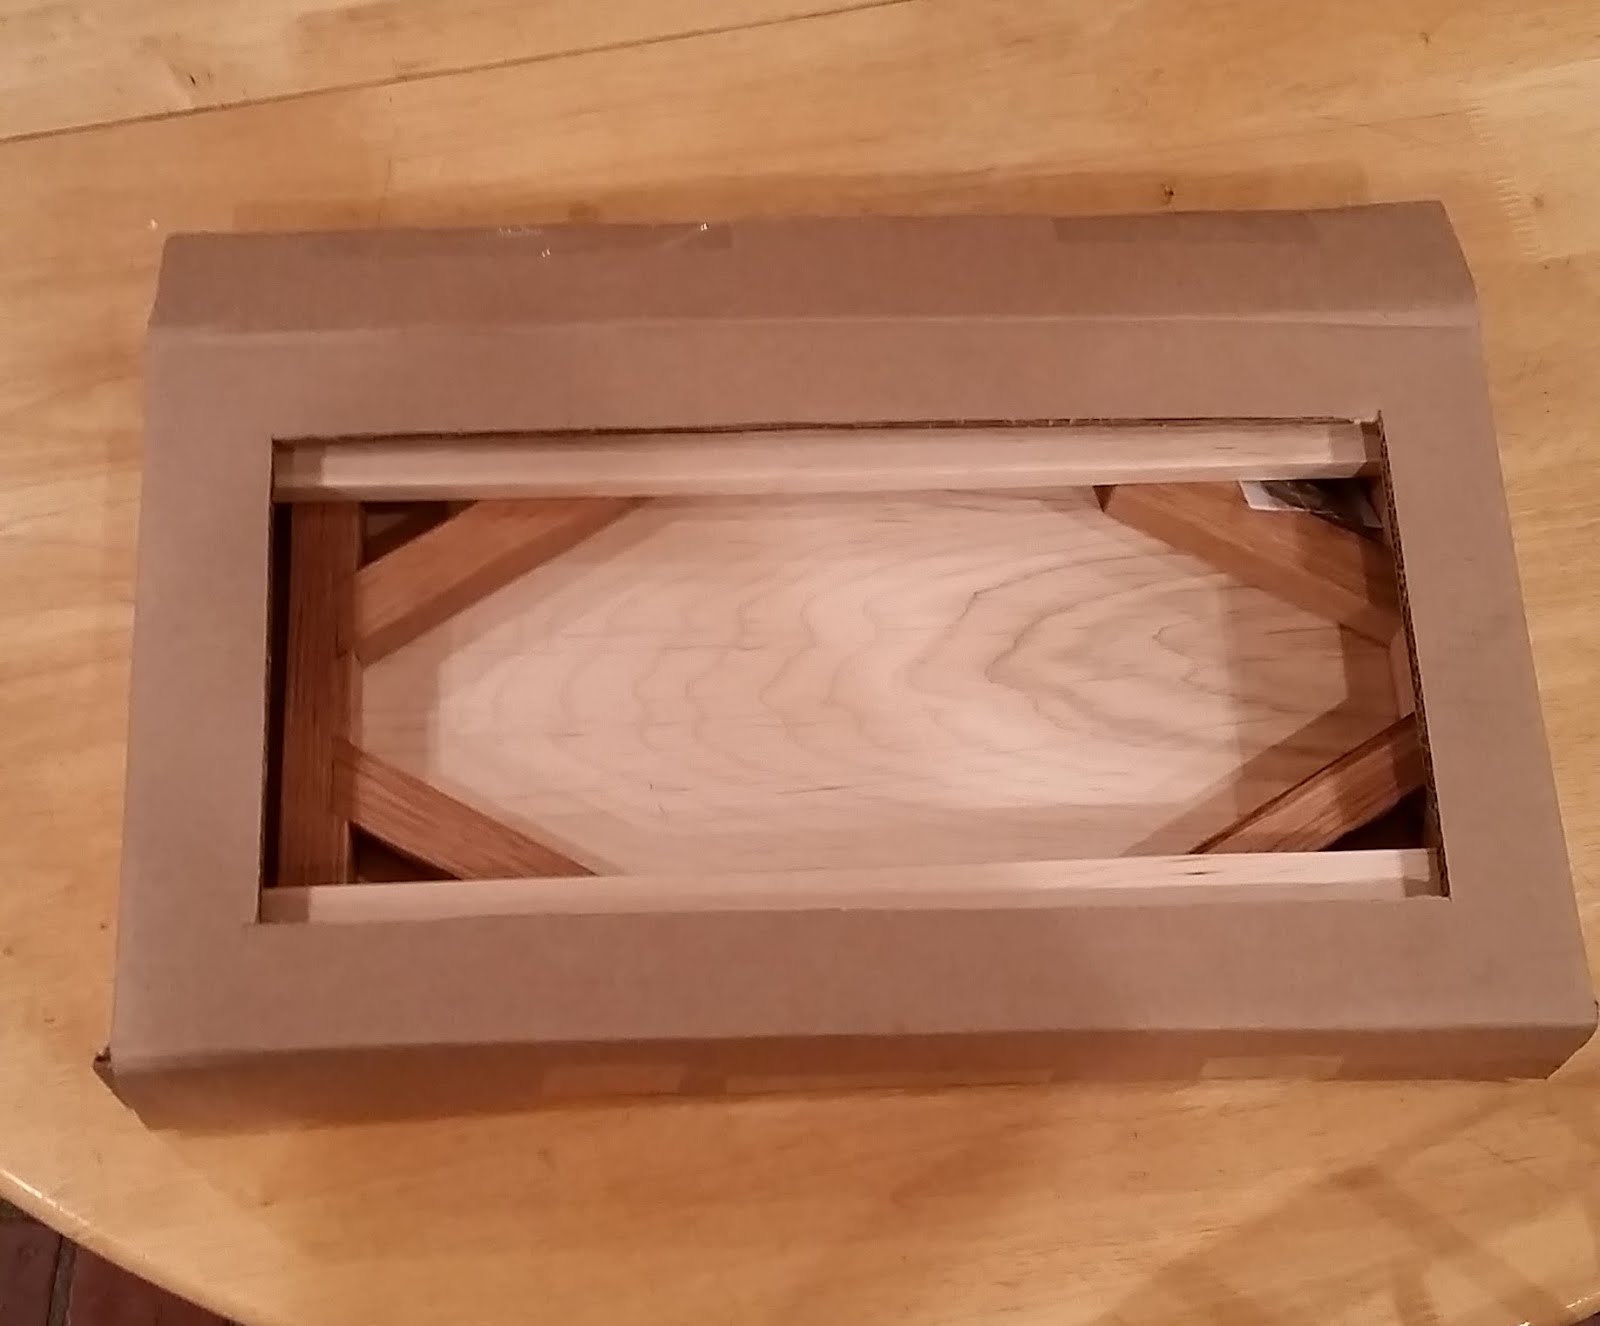
Make a box to complete the look and increase confusion upon opening.


What they unwrapped:

I got a lot of puzzled looks and no one knew what it was - Success!


Final Thoughts:

I really enjoyed this project.  I was able to practice my miters and angled dado's with a bottom parallel to the top of the leg.  I also was happy with the way that the two species of wood contrasted inside the package. 

I ultimately did add screws to the legs, I felt a bit nervous with just the glue knowing that a expensive electronic devices would be sitting on this.  The extra reinforcement might not have been necessary but I'd rather overbuild this than under build it.

Thanks for looking! 


Saturday, December 19, 2015

Stress Blocks - White Elephant Gift from Scrap Wood.

Idea:


I needed to make a White Elephant Gift for a party with minimal impact to my wallet.  But I also wanted to make something that wouldn't immediately be thrown away (hopefully). So I drew up a box in Illustrator, had it printed and then glued it down to some cardboard.


The Build:


Needed some clear plastic sheeting and all I had was a 3 ring binder cover.


Fill it with scrap of different shapes and sizes.


Final Thoughts:

I'm happy with this quick build and I think whoever is lucky enough to pick it will be too.

Thanks for looking!


Tuesday, June 30, 2015

Transforming Breakfast Bar


Idea:

We needed a dining table for our little cabin that could sit 3 people normally and transform and seat 6 when we have company over.

We needed something that would extend our counter top space as well for our small cabin.


Sketch/Prototypes:

This was the first idea.  A table with some work surface at a counter top height and eating surfaces at bar height.  I decided against this for a couple reasons. The first, scale.  This would make our little kitchen look even smaller.  The second, we didn't need that much storage space.  While it was initially a main goal for the project we quickly came to the realization that we didn't need it.


Back to the drawing board, I came up with the following.  A butcher block style top with an integrated hinge for the other side of the table that could swing up when company comes over.  The drawers would provide some storage space as well but it would be scaled to our kitchen.


\

The design relies on a metal rod connecting both counter tops and the support for the hanging side would be a structure that could get screwed in.  Home Depot 3/4" plumbing pipe would fit the bill.  I want to emphasize that this is for when company comes over and when they do it's usually for the weekend, so it's not something that needs to go up and down in a matter of seconds, but rather about 5 minutes.

The Build:

I chose Maple and Cherry as the wood of choice.  First I had to mill up some slats with a chunk cut out of the top.


Slots cut, ready for the pin hole to be drilled.


Laying it all out and making sure I didn't make a mistake in measurements.


The nerve wracking glue up.  I had to do it inside as it was -15 degrees out.  I laid down some plastic sheeting in the sun room and hoped that it didn't seep through.


Scraping glue before sanding.  The shop I was renting time at had a Time Saver, but it would be all cross grain so I would have to finish it by hand.


The apron for the top was non-traditional to say the least. Everything would be connected through figure 8 clips.


Sanded to 320 grit. 


Checking again for measurements.  Here you can see how the tops will be assembled.


Final product:

The hinge looks pretty sweet!


Final Thoughts:

I am really pleased with how this turned out.  It's to scale with the kitchen and fits 3 people for dinner perfectly.  In the end we decided against filling the holes in the wood with epoxy,  We wanted a non-traditional look for the table and felt that the holes added the perfect amount of character.  Drawers were also left off, the decision came after we cleaned out the kitchen in preparation for installation and learned that we have more than adequate storage.

Thanks for looking! 


Sunday, May 31, 2015

Tool and Bait Holders for the boat:

Problem:


My tools and baits have no place to go on the deck of my boat and I'm constantly looking for my pliers:

Idea:

I could purchase a tool holder for $30+ dollars or I could make one with scrap I have in my shop.  I chose scrap.

Build:

I drilled and cut slots in some angle.


Drilled different size holes for different baits.


Sprayed both pieces in Plastidip for a little grip and to protect my baits.


Installed with 3/4 inch stainless steel wood screws and some silicone to keep the seal on the wood.


Final Thoughts:

Overall this project took me about an hour plus the time for the Plastidip to dry.  I saved $30 and I can always find my pliers.  I use the bait holder for the ones I'm using that day or the ones I haven't put back into my tackle box yet.

Thanks for looking!